How to Install Win 98 in a Virtual Box

    • Download the Virtual Box  this  site https://www.virtualbox.org/wiki/Downloads.
    • After the Download is complete .Double  Click the  Virtual Box.exe.
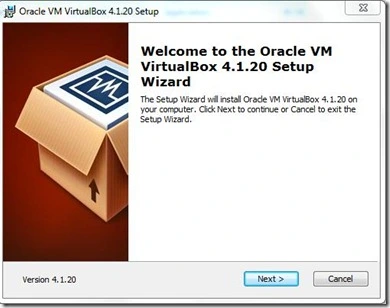
    • Oracle VM virtual Box Setup window will be open.
    • vbbox
    • Click on Next .
    • vb2
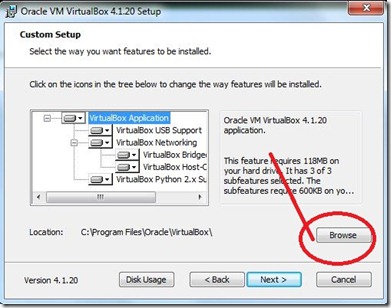
    • Browse the  install location Click Next.
    • vb3
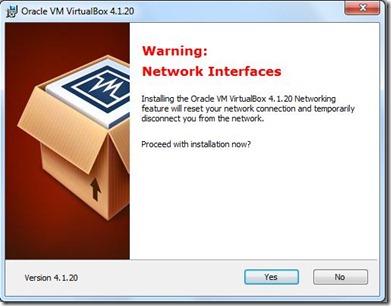
    • Next Window  will be Warning  Network  Interface Click Yes
    • vb4
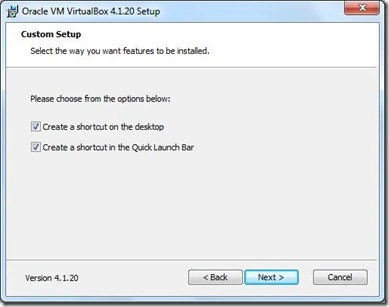
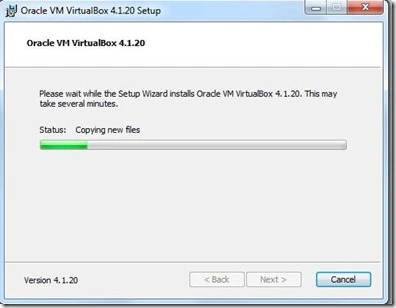
    • Now set up  copying new files.Click Next .
    • vb5
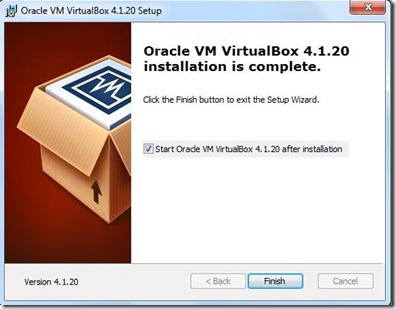
    • Now set will Be Finish .Click on Finish. Exit the Setup Wizard.
    • vb7
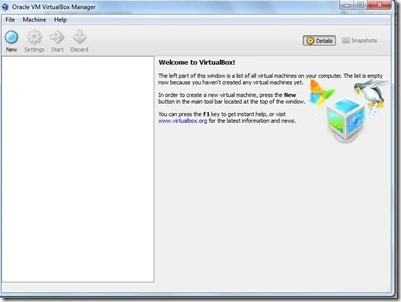
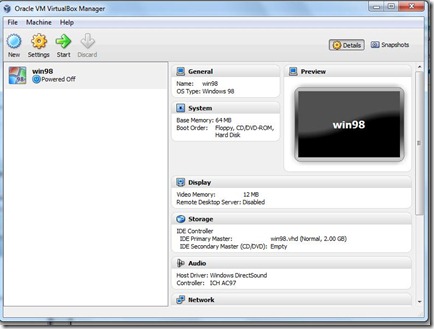
    • Open the Virtual Manager Wizard.The left part of this window is a list of all virtual machines on your computer.
    • The list is empty now because you haven’t created any virtual machines yet.
    • vb9
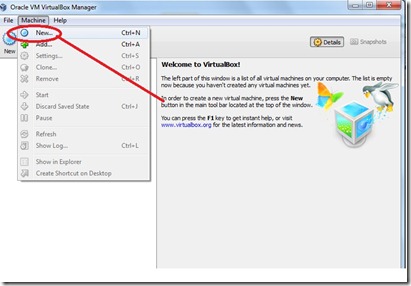
    • In order to create a new virtual machine, press the New button in the main tool bar located at the top of the window
    • vb10
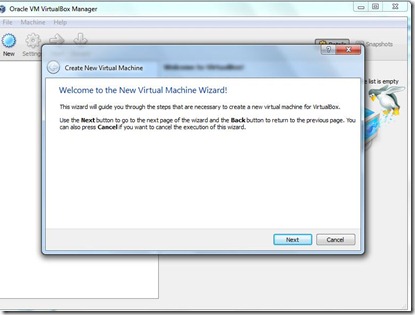
    • Click –> Machine  Choose –> New. Click  On New this window will Be open.
    • vb11
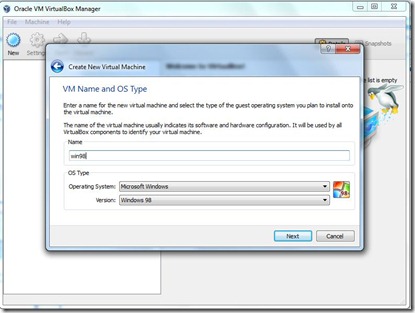
    • Click-> Next Give the Name  .and Select the OS You Want to Install.
    • win98
    • Here We give the Name win98 . Click on Next.
    • vbmem
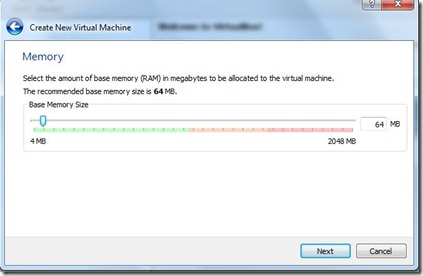
    • You  can Select the memory  for this  VM. Click Next.
    • vhdvb
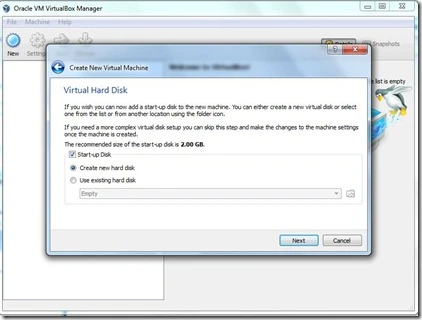
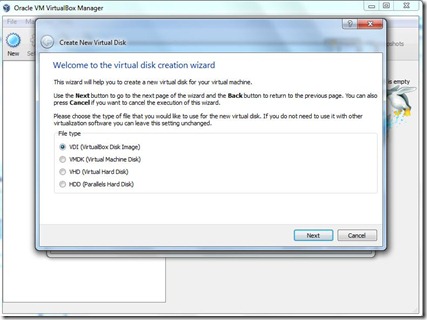
    • This wizard will help you to create a new virtual disk for your virtual machine.
    • Please choose the type of file that you would like to use for the new virtual disk.
    • vbvm2
    • If you do not need to use it with other virtualization software you can leave this setting unchanged. Click Next.
    • vbvm3
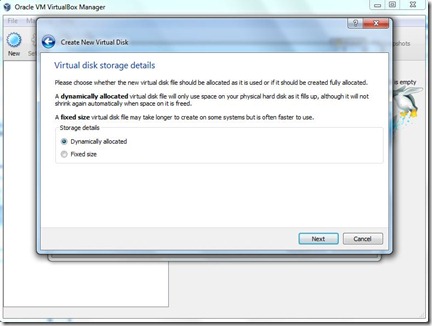
    • You Choose Dynamically allocated or the fixed size . Click Next.
    • vbmm4
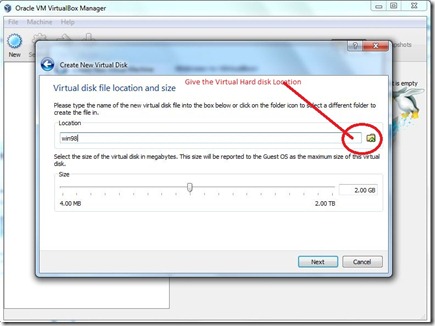
    • Give  the Virtual Hard disk location Folder Click Next.
    • vb12
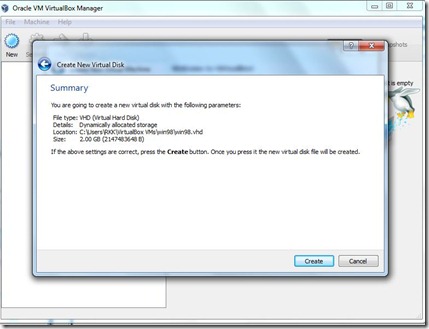
    • If the above is correct press the Create button. Once you press it, a new virtual machine will be created.
    • you can alter these and all other setting of the created virtual machine at any time using the Settings dialog accessible through the menu of the main window.
    • vbmm98
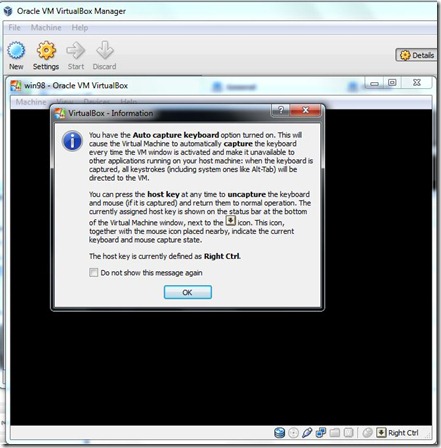
    • Click On the Start .this Dialog box will  be open it .Click OK
    • vb14
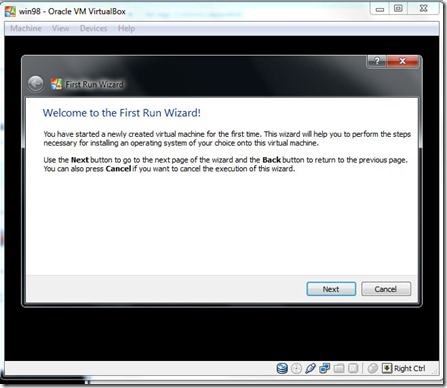
    • Welcome to First Run Wizard Click on Next.
    • firstrun
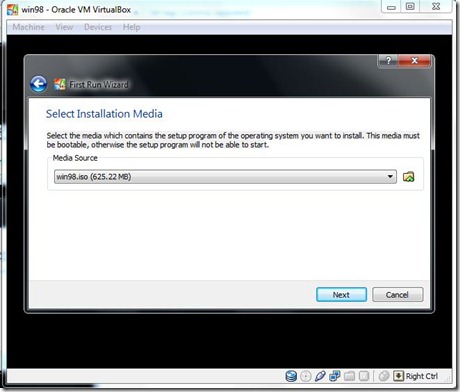
    • Select the media which contains the setup program of the operating system you want to install.
    • This media must be bootable, otherwise the setup program will not be able to start.
    • win98location
    • Browse the 98bootableiso location .Click on Next.
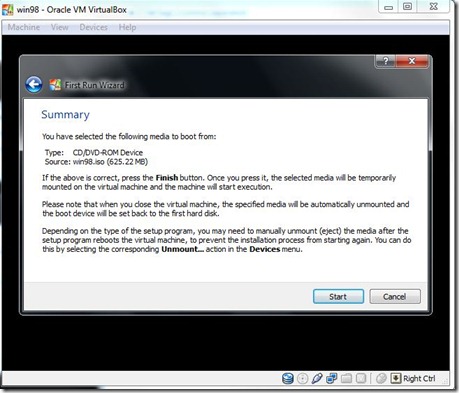
    • firstruwizard
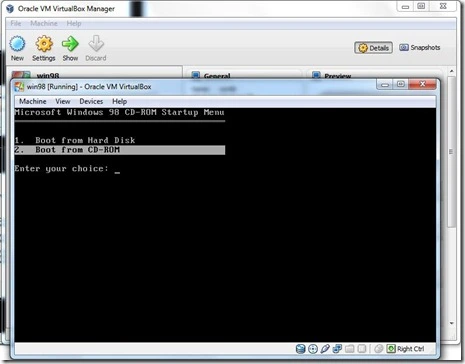
    • Click On Start Button. Microsoft Window98 CD  Startup menu  Started
    • win981
    • Enter Your Choice. Select Boot From CD-ROM Press Enter.
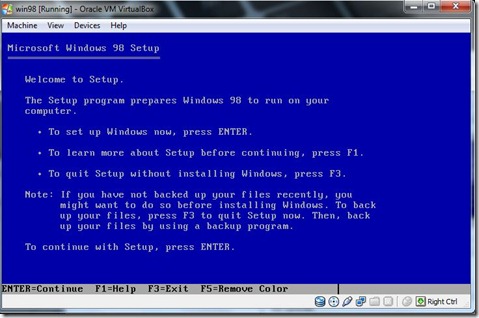
    • 98setup
    • To continue Setup Press Enter
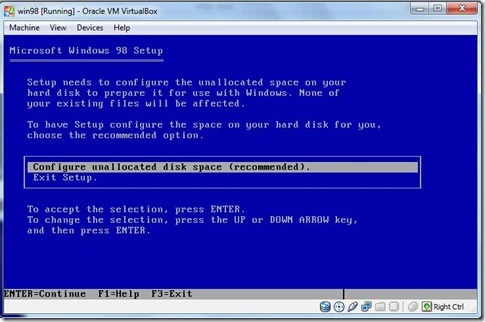
    • 98configure
    • Configure the unallocated space .Press Enter.
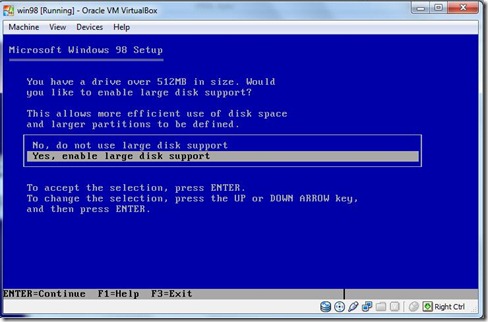
    • largeenable
    • Select the large enable support press Enter.
    • continue
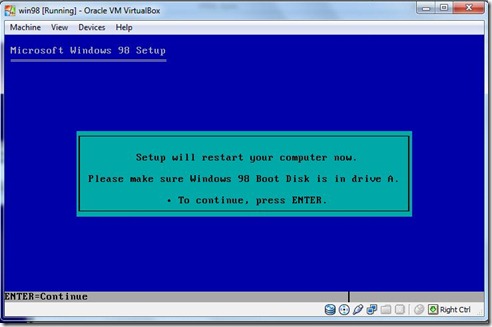
    • Continue  the Setup Press Enter. Reboot the system Automatically .
    • Choose Option Boot from CD-ROM.
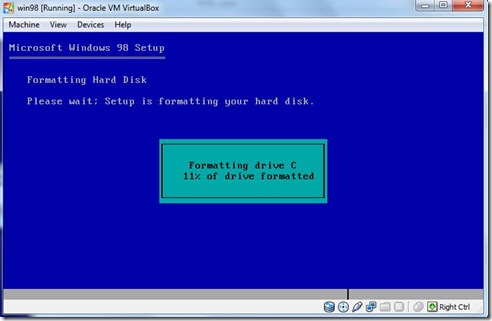
    • format
    • Formatting the hard disk window will be appear.
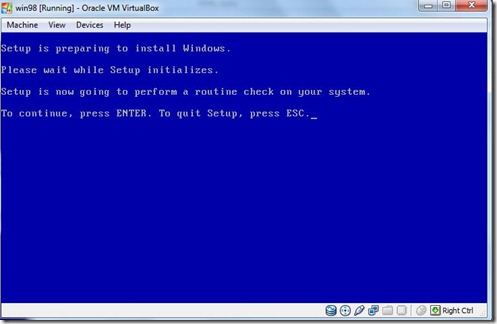
    • setuprouitne
    • Set is Preparing to install Windows. to continue  Press Enter.
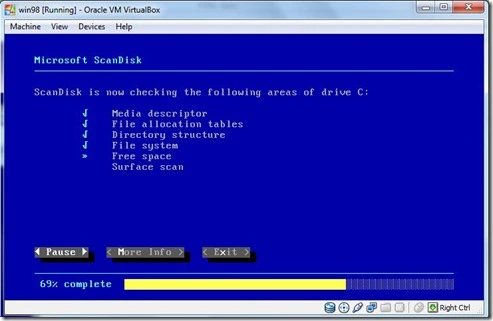
    • microsoftscandisk
    • Now scandisk will be started.
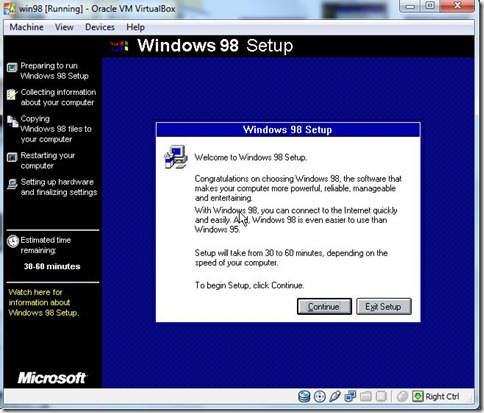
    • Preparing to  windows 98 setup Window will be appear .Click  on Continue.

  • 98setup
  • Preparing directory Click Next.
  • 98dir
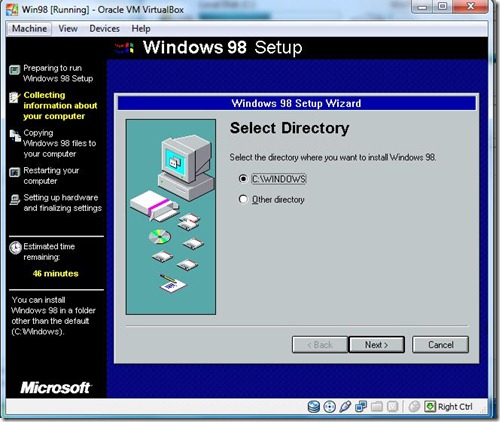
  • Select the Directory . Where you want to install .Select C:\Windows Click Next.
  • 98setup2
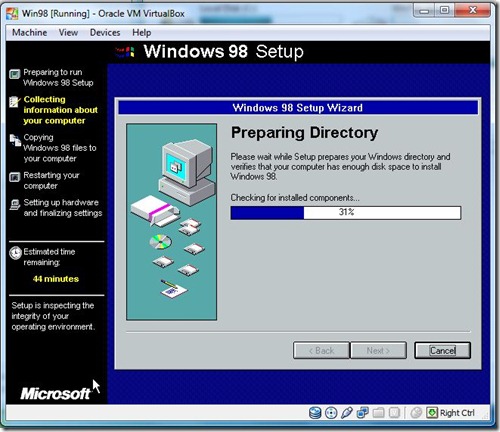
  • Preparing Directory .Click Next.
  • 98setup3
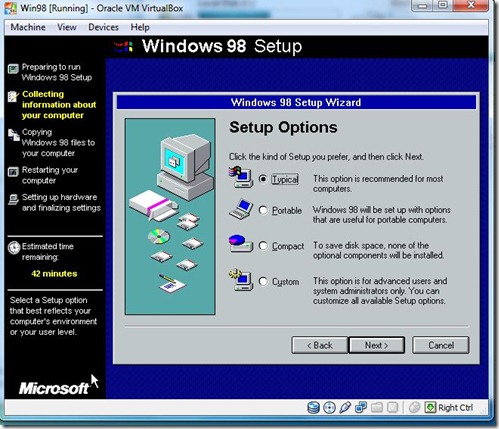
  • Choose  the Option and Click Next.
  • image
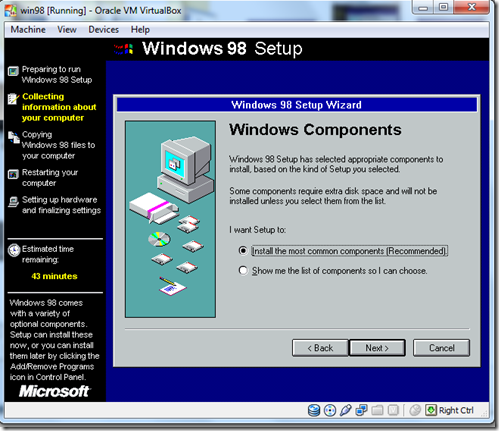
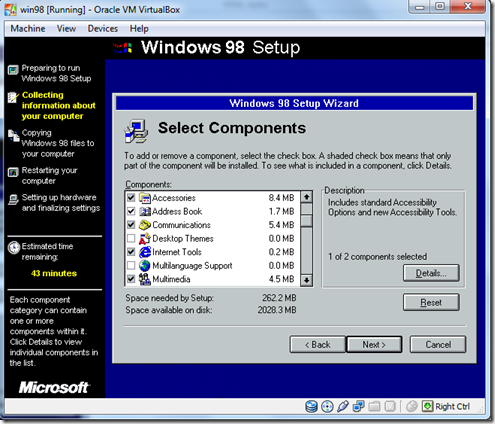
  • Select the Windows Component
  • image
  • and Click Next
  • image
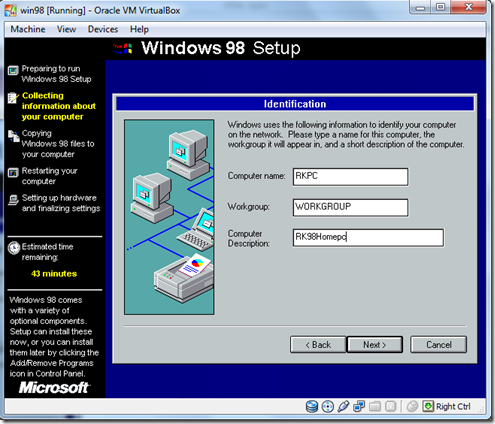
  • Give The Computer Name and Description  Click Next .
  • image
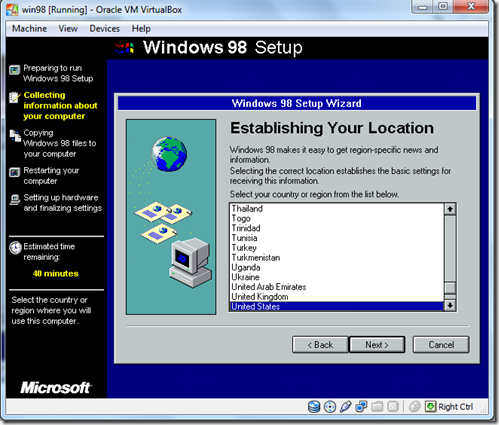
  • Choose Your Location.Click Next.
  • image
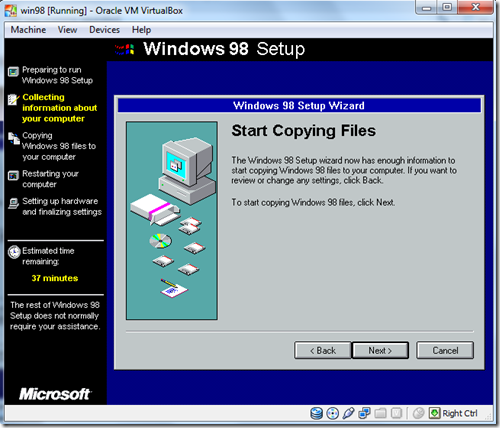
  • Start copying Files Click Next.
  • image
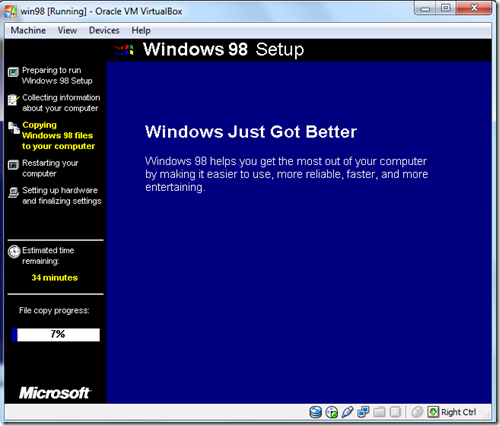
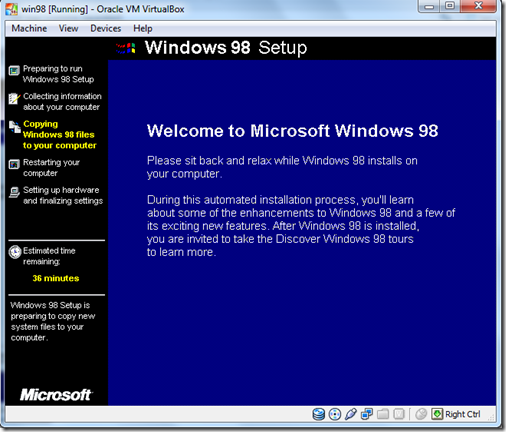
  • Estimated Time will be appear & File copy Progress.
  • image
  • Now Rebooting Your Computer Automatically.and boot from the Hard disk.
  • image
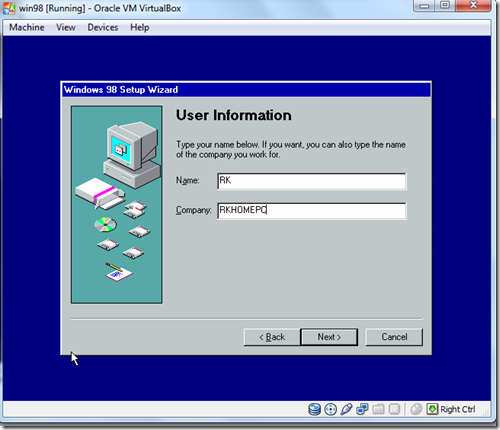
  • Now Give the Information and Click Next.
  • image
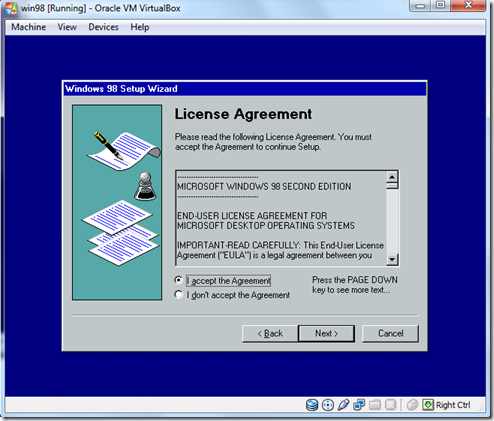
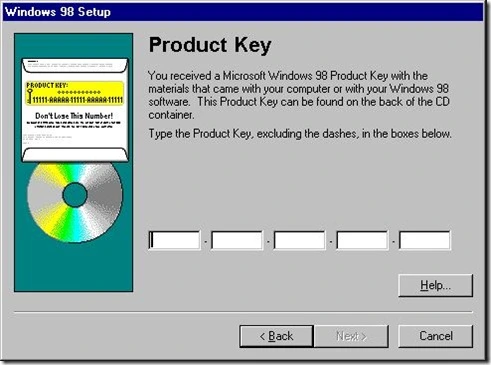
  • Accept the Agreement .Installing  the Product Key .and Click Next.
  • productkey
  • and Click Next
  • image
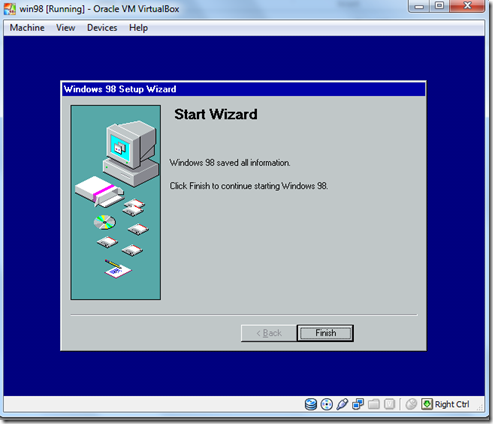
  • Click the   Finish.
  • image
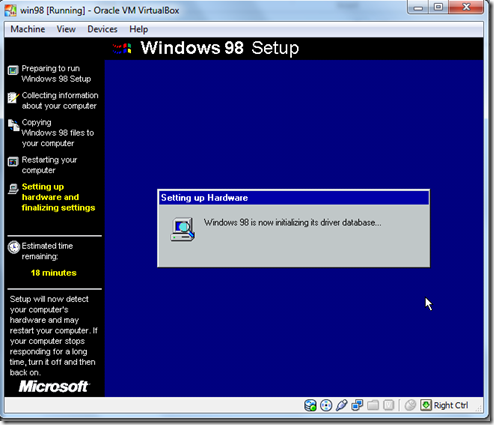
  • Windows  Now initializing the  Driver Data base .
  • image
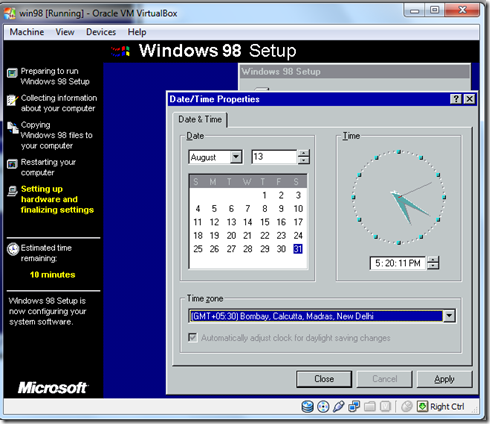
  • Now Change Your Date and Time .and Click On Apply.
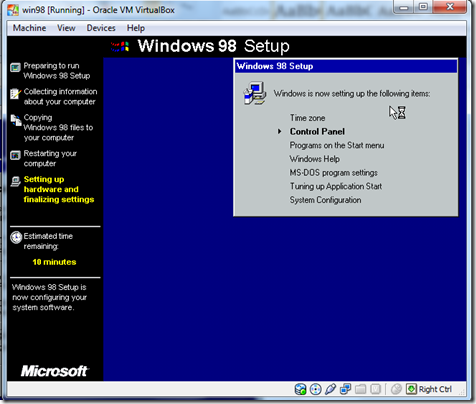
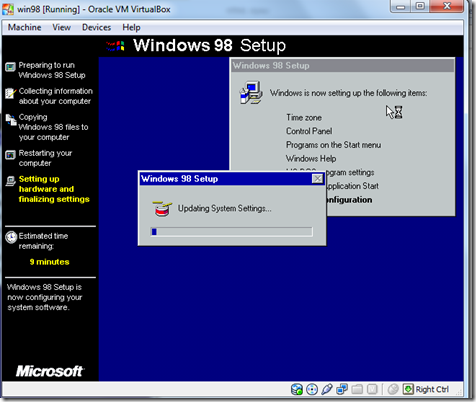
  • Windows Now setting the  following Items.
  • Control Panel
  • Programs And Start Menu
  • Windows Help
  • MS-DOS Program Settings
  • Turning On Application Start
  • System Configuration
  • image
  • Window is  now Updating the system Settings.
  • image
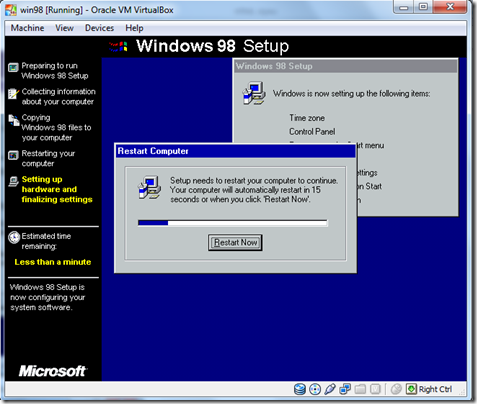
  • After completing the system is  Reboot now.
  • image
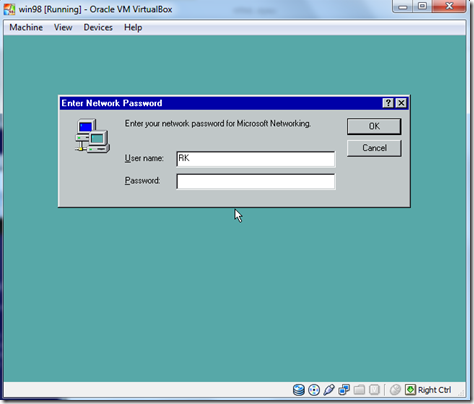
  • After the Restarting the computer This dialog will be appear.
  • image
  • Click OK.
  • image
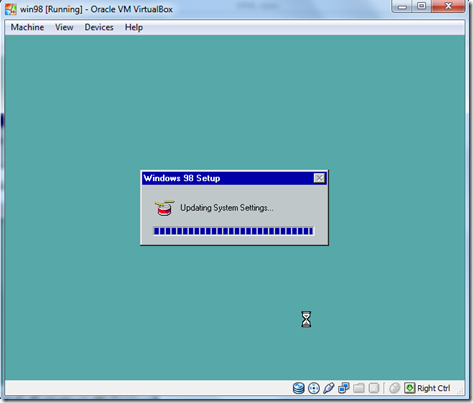
  • Windows is now Update the system Settings.
  • image
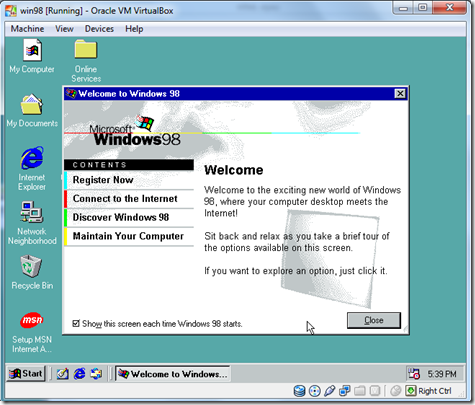
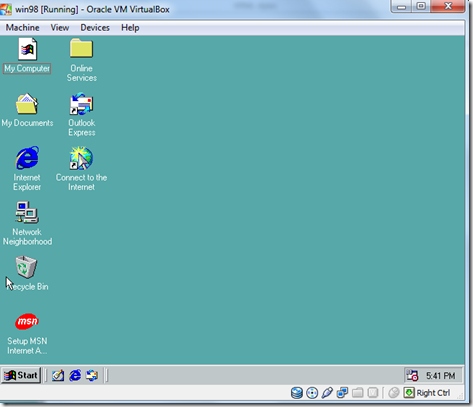
  • Welcome Screen Of your Windows  After installing the windows.
  • Uncheck the Box the Welcome screen will not appear in again.
  • image
  • So enjoy Your Windows 98.


How to restore Option in windows 7 after windows XP Installation

    • This case is applicable for users who have Windows 7 pre-installed on ‘C’ and want to install XP on their ‘D’ partition.

    • Windows XP on ‘D’ partition of your hard drive. Assuming, Windows 7 is installed on ‘C’ partition.

    • After restarting system, you will directly boot into Windows XP.

    • That’s because XP writes its boot loader over Windows 7. So, we need to restore the Win 7 boot loader.

    • To restore 7, you need to Boot from the Windows 7 DVD and “Repair your computer”.

    • The Startup Repair tool repairs Windows 7 by replacing important operating system files that might be damaged or missing.

    • Startup Repair is an easy diagnostic and repair tool to use when Windows 7 fails to start properly.

    • Windows 7 Startup Repair process, you will need to boot from the Windows 7 DVD.

    • Press a key to force the computer to boot from the Windows 7 DVD.

    • No changes are being made to your computer during this step. Windows 7 is only temporarily “loading files.”

    • Choose the Language to install, Time and currency format, and Keyboard or input method that you’d like to use in Windows 7.

    • Click on the Repair your computer link on the bottom-left of the Install Windows window.

    • This link will begin the Windows 7 System Recovery Options.

    • You don’t need to do anything here but wait. This Windows installation search shouldn’t take more than a few minutes at most.

    • Choose the Windows 7 installation that you’d like to perform the Startup Repair on.Click the Next button.

    • Click on the Startup Repair link from list of recovery tools in System Recovery Options.

    • The Startup Repair tool will now search for problems with files that are important to the proper functioning of Windows 7.If Startup Repair finds a problem with an important operating system file, the tool may suggest a solution of some kind that you have to confirm or may solve the problem automatically.

    • Whatever happens, follow the prompts as necessary and accept any changes suggested by Startup Repair.

    • you must remove any flash drives or other USB storage devices, like external hard drives, from your computer before running the tool.

    • Click the Finish button once you see the Restart your computer to complete the repairs window to restart your PC and start Windows 7 normally.

    • After repairing, your system will restart and boot into Windows 7.

Now open  the command prompt. type  these  commands.

c:\windows\system32\Bcdedit\create{ntdldr}\d”Earlier version of  windows  OS”
c:\windows\system32\Bcdedit\set{ntldr}device partition =D
D is a  active partition.
c:\windows\system32\Bcdedit\set{ntldr}path\ntldr
c:\windows\system32\Bcdedit\display order{ntldr}addlist

        OR

Download and Install EasyBCD on your Windows 7 to add boot entry for XP.

  • Launch the program and select ‘Add New Entry’. Under “Operating Systems” open the Windows tab, select the Type as “Windows NT/2k/XP/2k3” and click on ‘Add Entry’.

  • The entry for Windows XP would be added instantly. You can choose the default OS to boot and modify the boot menu time-out from “Edit Boot Menu” option.

  • Now restart you PC and you’ll be presented with two options, Windows 7 and Windows XP. Select the OS you want to work on.